

Uptime Kuma is a self-hosted monitoring tool that offers an easy way to track the uptime of websites and services. It provides detailed insights through a user-friendly dashboard, making it a popular choice for personal and enterprise monitoring solutions. Deploying Uptime Kuma using Docker Compose simplifies the setup process, allowing for easy configuration, deployment, and management. This article will guide you through creating a Docker Compose file for deploying Uptime Kuma and running it on your server.
Prerequisites
Before starting, ensure you have the following:
- Docker installed on your server.
- Docker Compose installed on your server.
- Basic knowledge of Docker and Docker Compose.
Step 1: Create a Docker Compose File
First, create a directory for your Uptime Kuma project. This directory will store your Docker Compose file and any additional configuration files you may need.
mkdir uptime-kuma && cd uptime-kumaNext, create a docker-compose.yml file in the directory:
touch docker-compose.ymlOpen this file in your favorite text editor and add the following content:
version: '3.3'

services:
  uptime-kuma:
    image: louislam/uptime-kuma:1
    container_name: uptime-kuma
    volumes:
      - ./data:/app/data
    ports:
      - "3001:3001"
    restart: always
Let’s break down the components of this Docker Compose file:
- version: Specifies the version of the Docker Compose file format. Version
3.3is used here for broad compatibility. - services: Defines the services to be created. In this case, we have one service named
uptime-kuma. - image: Specifies the Docker image to use for the service. We’re using
louislam/uptime-kuma:1, which is an official Uptime Kuma image. - container_name: Sets a custom name for the container for easier reference.
- volumes: Maps a volume from the host to the container.
./data:/app/datamaps thedatadirectory in the current host directory to/app/datainside the container, where Uptime Kuma stores its data. - ports: Maps port
3001on the host to port3001in the container, which is the default port that Uptime Kuma uses. - restart: Configures the container to restart automatically unless it is explicitly stopped. This ensures that Uptime Kuma is always running.
Step 2: Start Uptime Kuma
With the docker-compose.yml file in place, you can start Uptime Kuma by running the following command in the same directory as your Docker Compose file:
docker-compose up -dThe -d flag runs the container in detached mode, allowing it to run in the background.
Step 3: Access Uptime Kuma
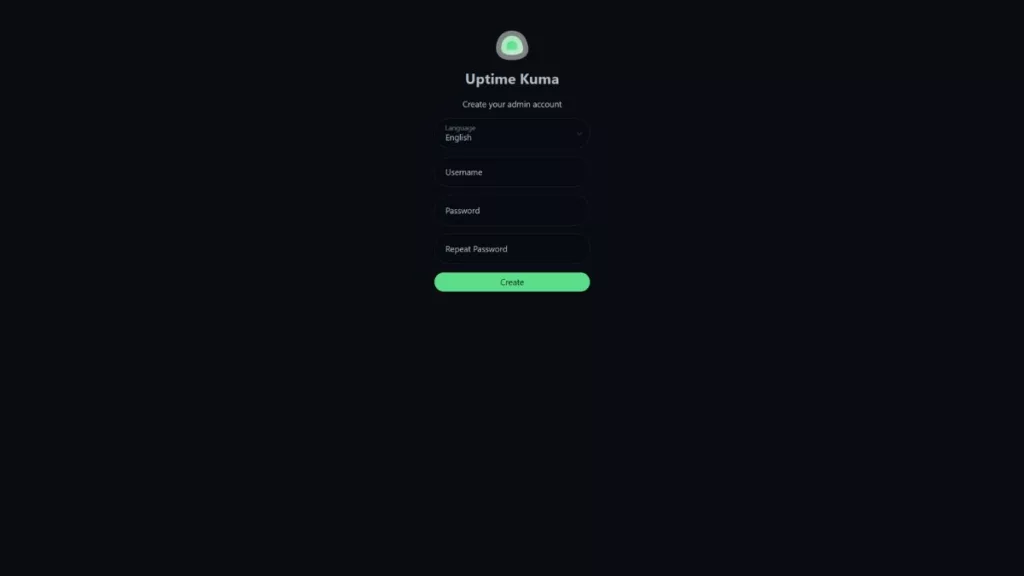
After starting Uptime Kuma, you can access its dashboard by navigating to http://your-server-ip:3001 in your web browser. Replace your-server-ip with the IP address of your server. You’ll be greeted with the Uptime Kuma setup wizard, which will guide you through creating an admin user and configuring your monitoring setup.
Conclusion
Deploying Uptime Kuma with Docker Compose offers a straightforward and efficient way to set up a self-hosted monitoring solution. Following the steps outlined in this guide, you can have Uptime Kuma up and running on your server in minutes, ready to monitor your websites and services. The simplicity of Docker Compose makes managing and updating your Uptime Kuma instance hassle-free, ensuring you have a reliable monitoring tool.
- Car Dealership Tycoon Codes: Free Cash for March 2024 - April 9, 2024
- World Solver - April 9, 2024
- Roblox Game Trello Board Links & Social Links (Discord, YT, Twitter (X)) - April 9, 2024